Leg Sleeve Compression: Sleeves vs Stockings, Sizing and Daily Wear
Leg sleeve compression comes as open-foot sleeves or ankle-to-calf stockings. Compare them, read the mmHg levels, measure your legs, and follow simple wear and care steps.
The Calvedon Team
October 31, 2026 · 6 min read
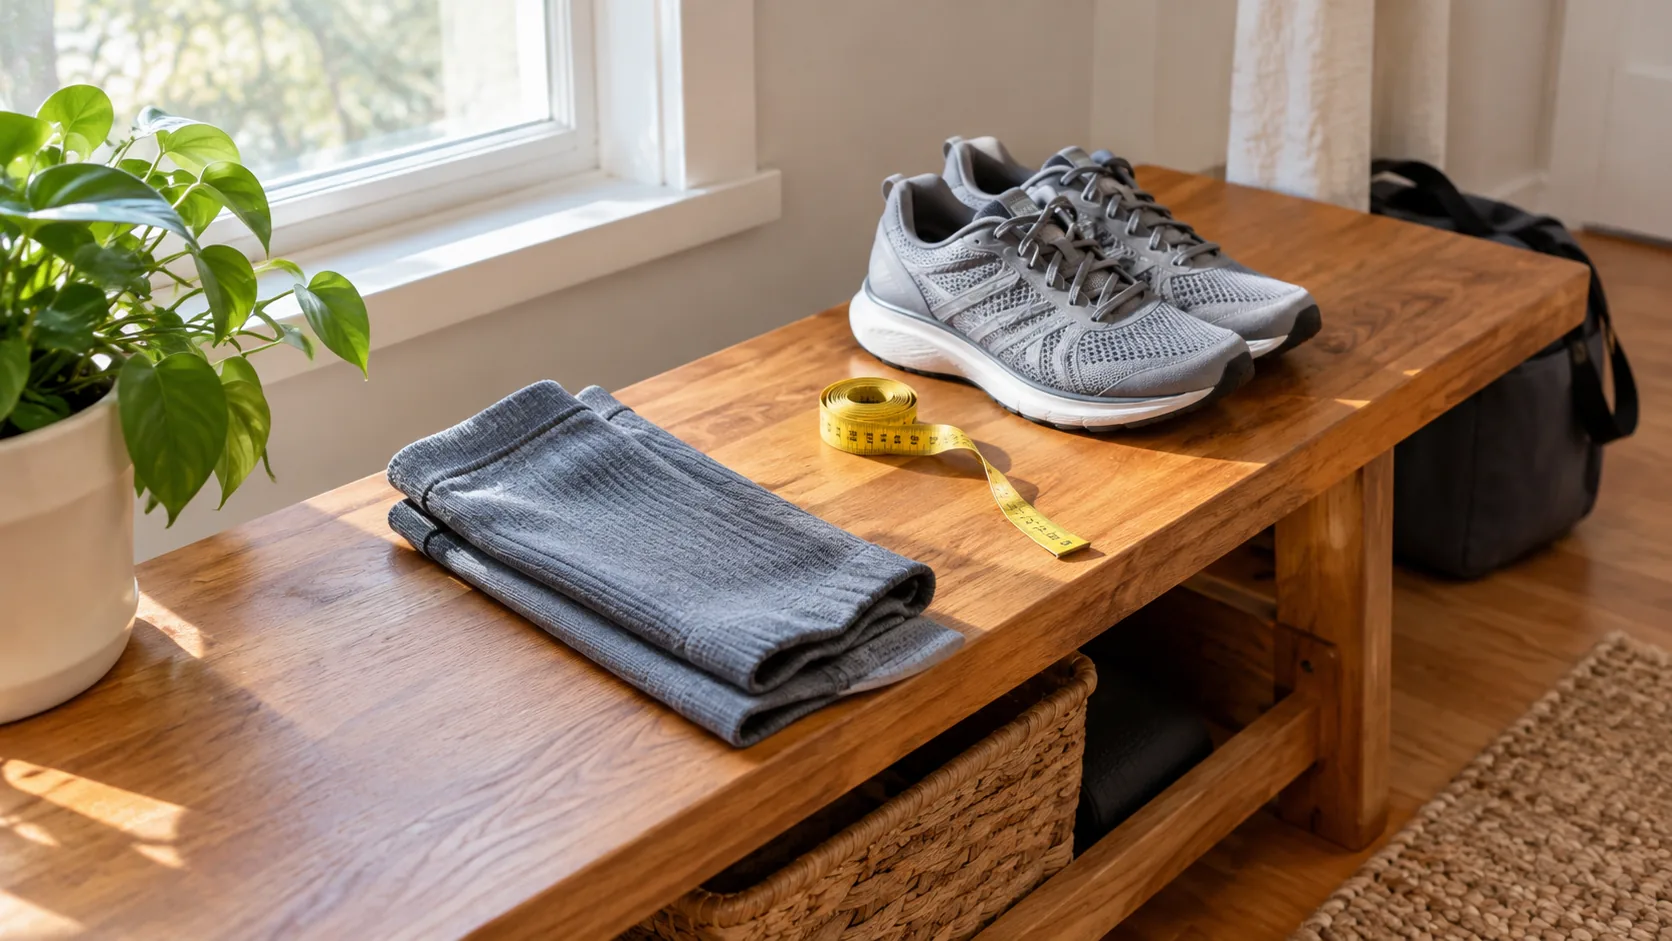
Leg sleeve compression means a stretch tube of fabric that slides over the calf, and sometimes the knee or the whole leg, and holds it with graduated pressure. Choose a sleeve when you want an open-foot garment for training, walking or standing shifts. Choose a stocking when you want ankle-to-calf coverage for sitting, standing or travel days. Either way, size by measurement, not by shoe size or habit.
This guide compares the two formats, explains mmHg levels, gives a measuring checklist, and lays out wear and care steps.
What a leg compression sleeve does
A leg compression sleeve applies steady, snug pressure around the lower leg. Graduated designs are firmer in some areas and lighter in others, rather than equally tight everywhere. The fabric also holds the calf and shin in place while you move.
That is the extent of what a garment like this does: it is a fit and a pressure pattern. It is not a substitute for advice from a licensed clinician, and this article makes no promises about results.
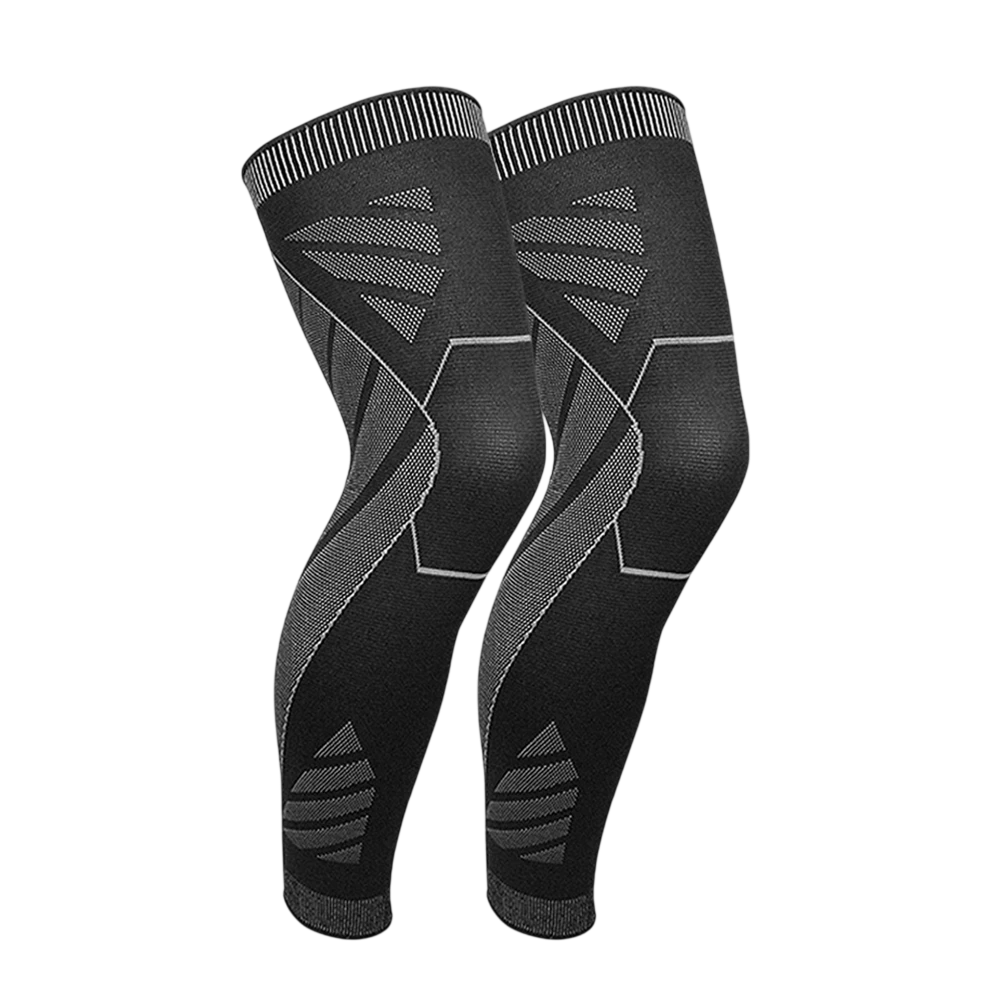
Some sleeves cover only the calf and shin. Others, like full leg sleeve compression styles, run from the ankle to the thigh. Check the product page to see where a given sleeve starts and ends.
Choosing leg sleeve compression: sleeves vs stockings
The two formats overlap, but they fit different routines. The table sets them side by side.
| Feature | Compression sleeve | Compression stocking |
|---|---|---|
| Coverage | Calf and knee, or calf and shin; foot stays free | Pressure zones from ankle to calf |
| Typical use | Training, walks, long shifts on your feet | Desk days, standing, travel |
| Foot | Open, so you pick your own socks | Covers the foot and ankle |
| Putting on | Slides over the foot and up the leg | Stretch design glides over foot and calf |
| Measure | Calf, often knee or thigh for longer styles | Calf and ankle |
For basketball, running or a lift, a sleeve leaves the foot free for your own shoes and socks. For a flight or a day at a desk, a stocking covers the ankle too.
A sleeve for training and long shifts
SanaCuff is a pair of compression leg sleeves that slide over the calf and knee. It uses graduated compression, so the fit is snug in some areas and lighter in others. The fabric is lightweight, breathable and moisture-wicking, and a sizing and care guide comes with the pair.
 In this guideSanaCuff$39.99View
A stocking for sitting, standing and travel
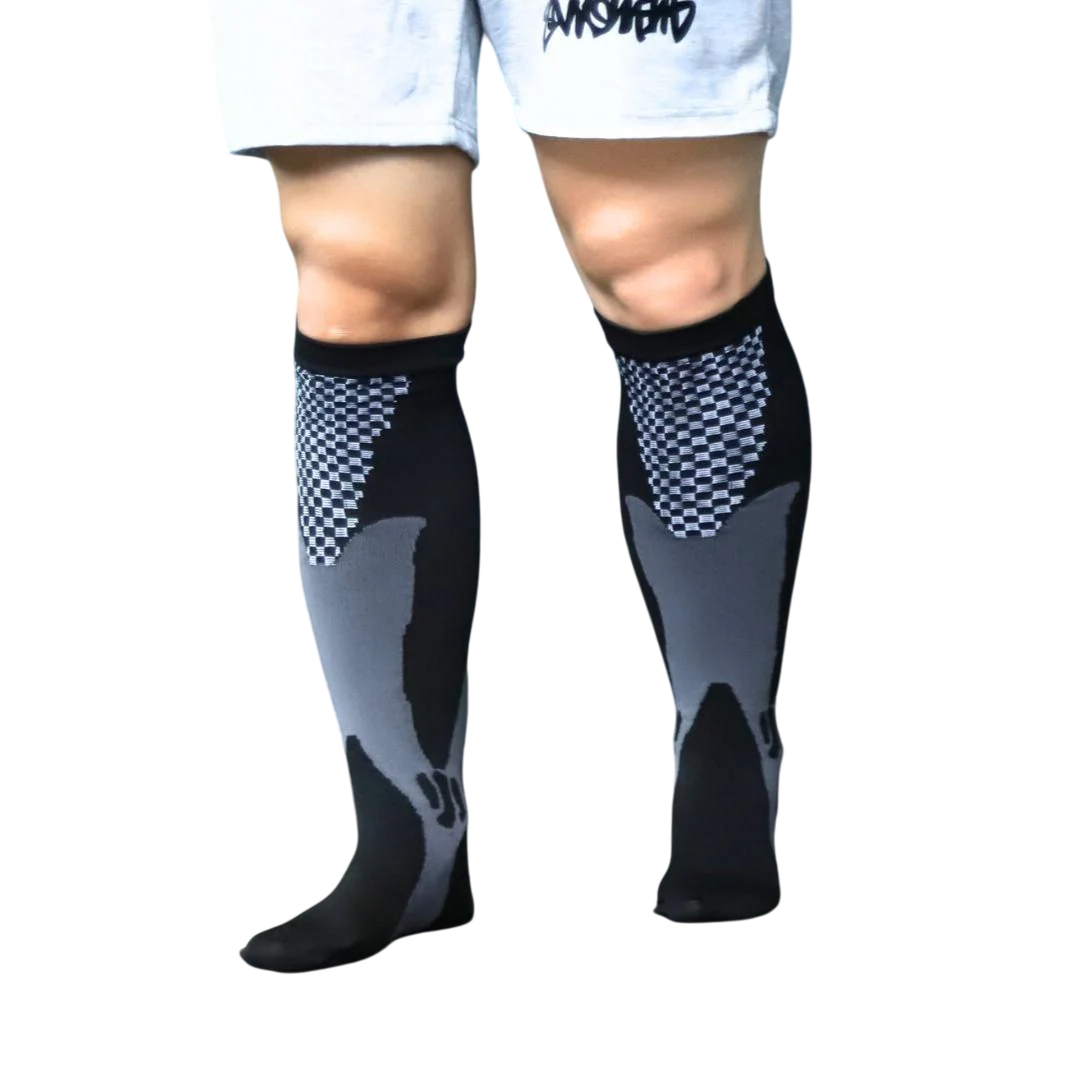
CalfHarbor is a pair of graduated compression stockings made from bamboo fiber fabric. Pressure zones run from the ankle to the calf, and the stretch-engineered, seamless glide design lets you slip them on. A sizing guide and a travel pouch are in the box.
 In this guideCalfHarbor$49.99View
Compression levels in mmHg
Compression is measured in millimeters of mercury (mmHg), and a higher number means firmer pressure at the ankle. Ranges differ a little between makers, so read the product page for the exact figure.
| Level | Typical range | Where it appears |
|---|---|---|
| Light | 8-15 mmHg | Everyday support garments |
| Moderate | 15-20 mmHg | Athletic sleeves, travel stockings |
| Firm | 20-30 mmHg | Garments fitted with a clinician's guidance |
| Extra firm | 30 mmHg and above | Prescribed by a clinician |
Start at the lighter end for general wear. If a level above 20 mmHg interests you, ask a licensed clinician first, because firmer garments are fitted to a specific situation.
Leg compression sleeve for swelling: check first
If you are thinking about a leg compression sleeve for swelling, talk to a licensed clinician before you buy. Swelling in one or both legs can have causes that need an evaluation, and a garment cannot sort that out for you. A clinician can also tell you the mmHg level and length that fit your situation.
Contact a clinician right away if one leg is suddenly larger, warm or red, or if you have breathing trouble. Do not wait on a sleeve.
Field note
Measure in the morning, before you have been on your feet. Legs change through the day, and a morning measurement keeps your size consistent from one order to the next.
Measuring checklist for the right size
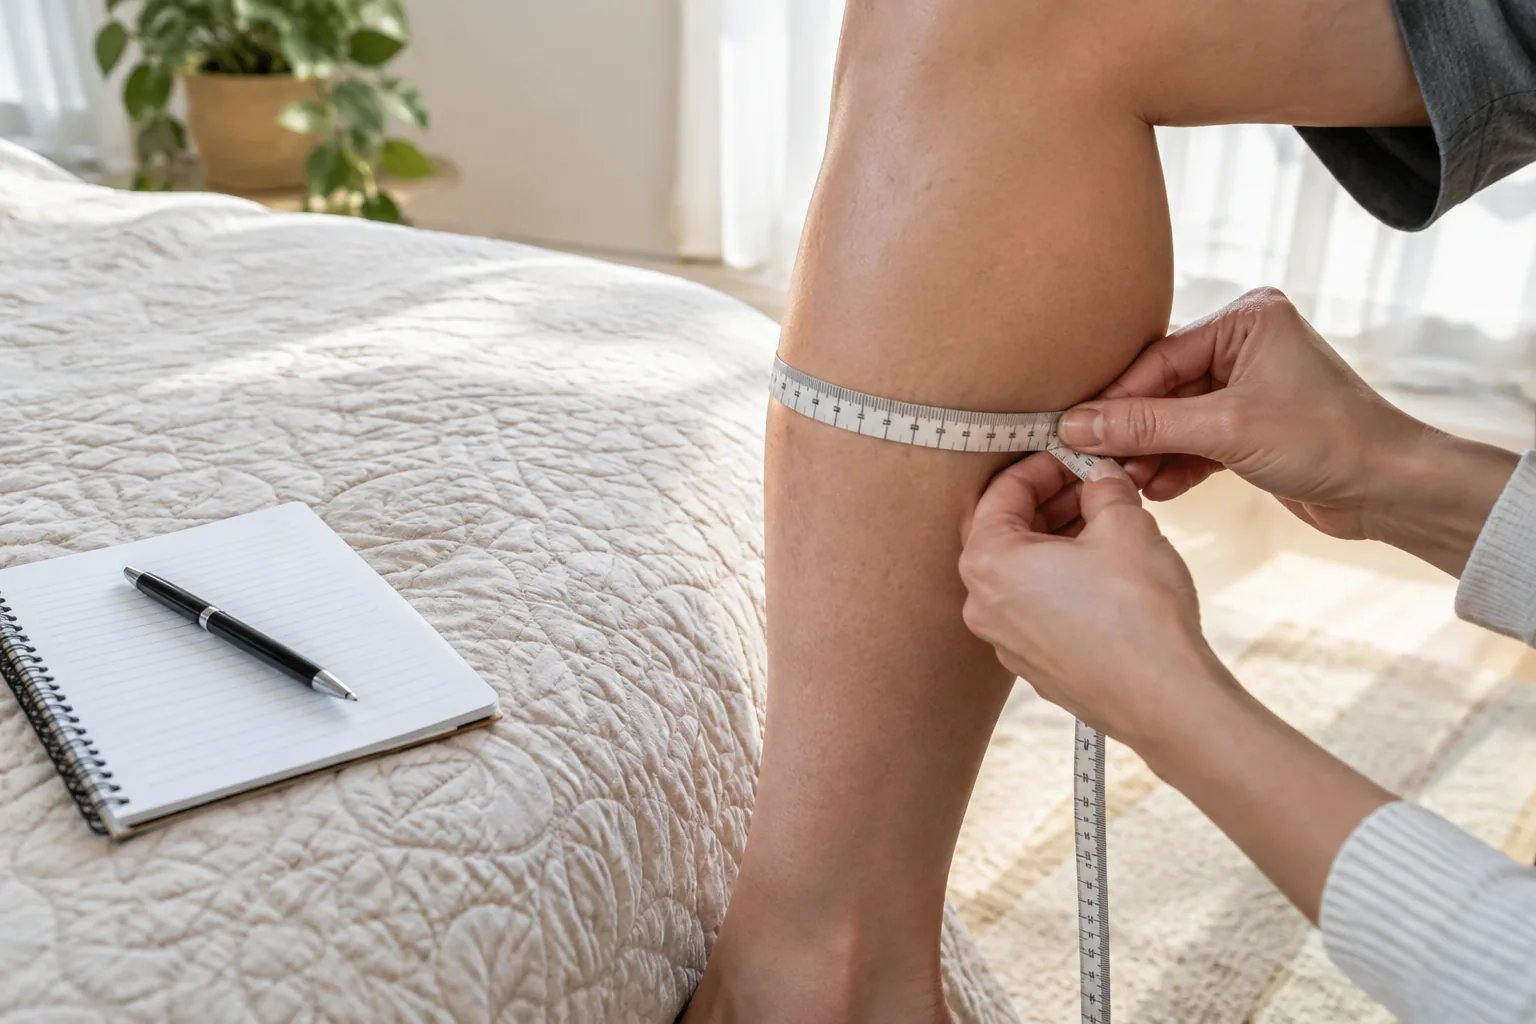
Every maker publishes its own size chart, so measure first and match numbers to the chart in the sizing guide. A flexible tape measure and a pen are enough.
- Sit with your foot flat on the floor and your knee bent at a right angle.
- Measure around the widest part of the calf and write it down.
- Measure around the ankle at its narrowest point.
- For stockings or longer sleeves, measure the leg length the chart asks for, such as ankle to knee crease.
- For full-length styles, add the thigh circumference the chart requires.
- Measure both legs and size to the larger one if they differ.
- Match each number to the chart. If you fall between sizes, read the maker's guidance or ask the store.
Keep the tape snug against the skin but not pulled tight, and do not measure over clothing.
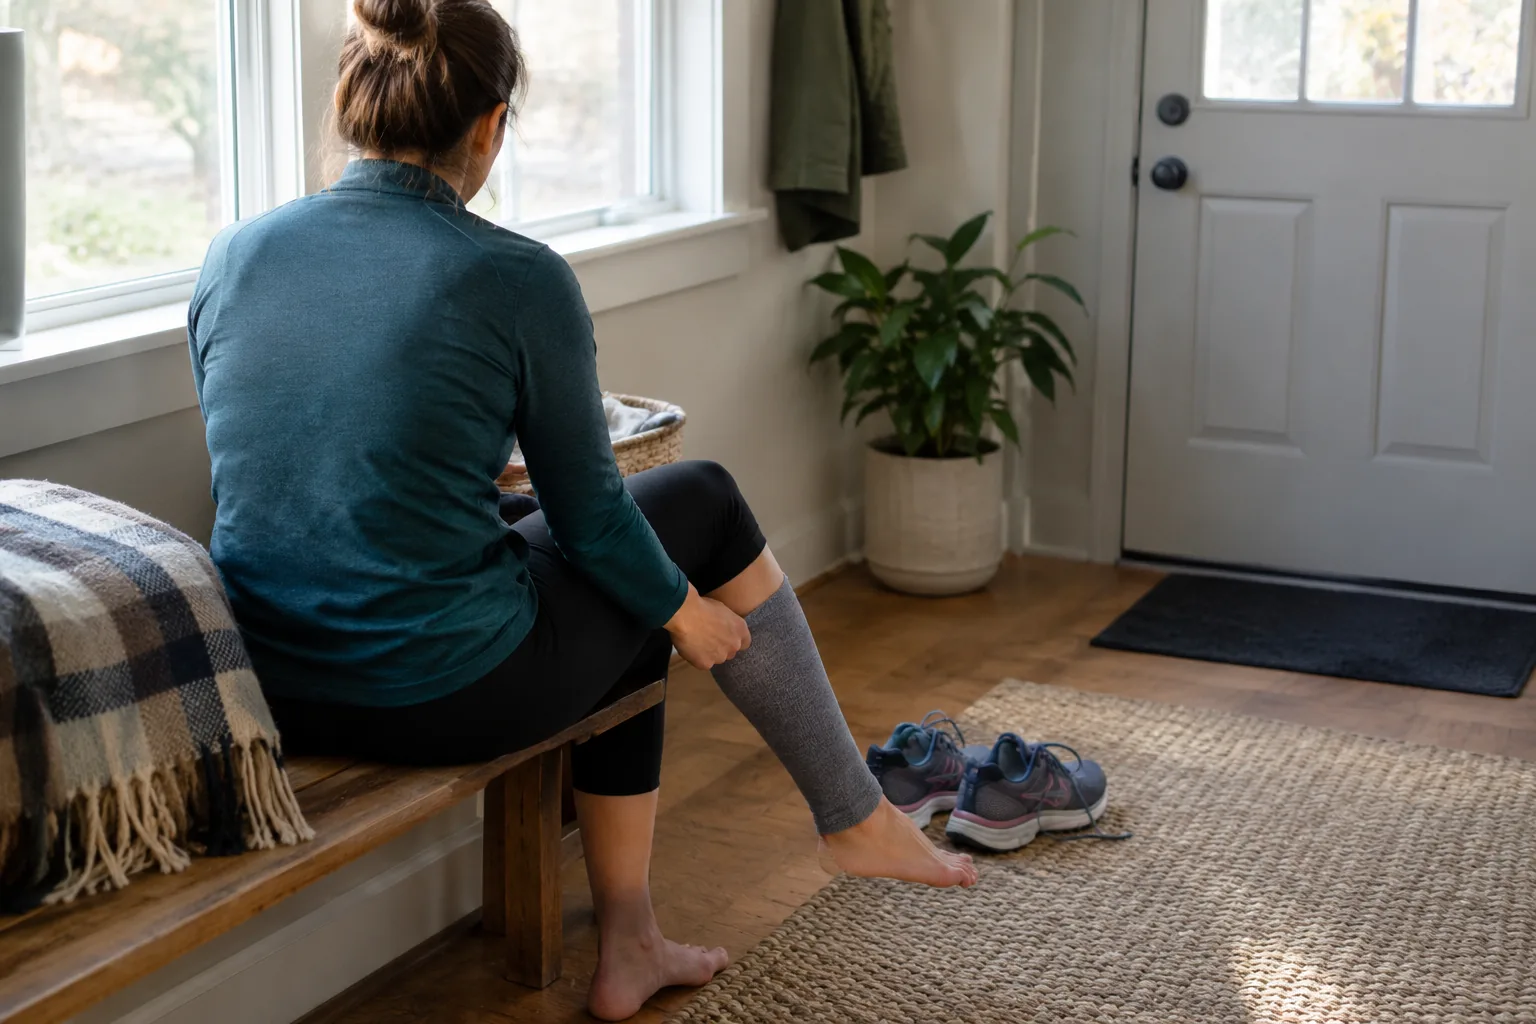
Daily wear steps
- Check the garment for holes, thin spots or loose edges before each wear.
- Put it on in the morning with dry, lotion-free skin.
- Pull it up evenly. Straighten any folds, since a rolled band concentrates pressure in one line.
- Check that the top edge sits where the sizing guide says, not rolled down.
- Wear it through the activity or workday you chose it for.
- Take it off when you are done, or sooner if it feels wrong, and follow the maker's wear-time guidance.
If you see numbness, color change or tingling in your toes, remove the garment and contact a licensed clinician.
An evening foot routine pairs well with this; see Foot Spa at Home: A Step-by-Step Setup and Soak Routine for a setup you can follow after you take your sleeves off.
Care schedule
Follow the care guide that comes with your pair, because fabrics differ. The bamboo fiber fabric in CalfHarbor has its own care guide, and SanaCuff ships with a sizing and care guide as well.
| When | Step |
|---|---|
| After each wear | Take off, turn inside out and let it air out |
| Wash day | Wash as the care guide directs |
| After washing | Dry as the guide directs and keep away from direct heat unless the guide allows it |
| Each month | Check for stretched edges, thin spots and a loose fit; replace if the fit has changed |
Rotate two pairs if you wear compression daily, so one is always dry.
Common mistakes
- Sizing by shoe size instead of calf and ankle measurements.
- Choosing a higher mmHg level because it sounds more serious, instead of asking a clinician.
- Letting the top band roll down into a thick ring.
- Wearing a sleeve with a visible tear or lost stretch.
- Using a sleeve in place of an evaluation for a leg change that worries you.
Browse the Compression & Support collection to compare formats against your measurements.