
How to Use a Water Flosser: Step-by-Step Technique and Settings
Fill with lukewarm water, start on the lowest setting, lean over the sink, and trace the gumline at a right angle. Here is the full routine with settings and cleaning.
The Calvedon Team
October 19, 2026 · 7 min read
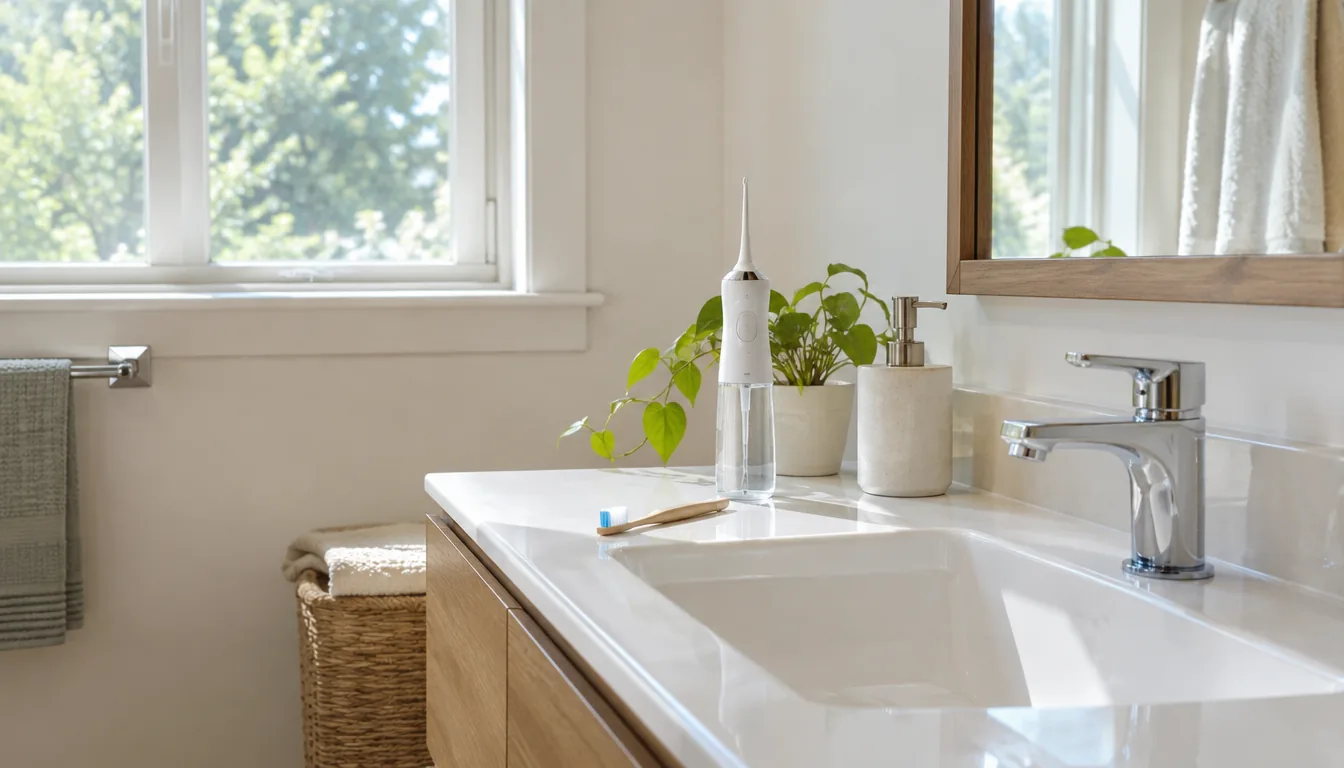
Here is how to use a water flosser: fill the tank with lukewarm water, click in a tip, lean over the sink, and start on the lowest pressure setting. Place the tip just above the gumline at a right angle, close your lips enough to keep water in the sink, and move tooth by tooth along the gumline and between teeth. Turn the unit off, empty the tank, and wipe it dry when you finish.
This guide walks through that routine step by step, with a pressure setting table, tip angles for back teeth and braces, a floss comparison, and a cleaning schedule. It is a brand-neutral technique guide, so check your own manual for model details.
How to use a water flosser: the 8-step routine
The same sequence applies to countertop and cordless models. Only the way the unit holds water and power differs.
- Fill the tank with lukewarm water.
- Click your nozzle tip into the handle until it seats fully.
- Set the pressure to the lowest mode.
- Lean over the sink so water can fall out of your mouth.
- Put the tip in your mouth, then turn the unit on and close your lips enough to keep water from spraying.
- Aim the tip just above the gumline at a right angle and pause at each tooth.
- Work along the outer and inner surfaces, upper arch first, then lower, until you have covered every tooth.
- Turn the unit off before you take the tip out, then empty the tank.
Turning the unit on only after the tip is in your mouth helps keep the stream off the mirror and counter. If you are new to the device, expect the first few sessions to feel slow while you learn the path.
What a water flosser does and who uses one
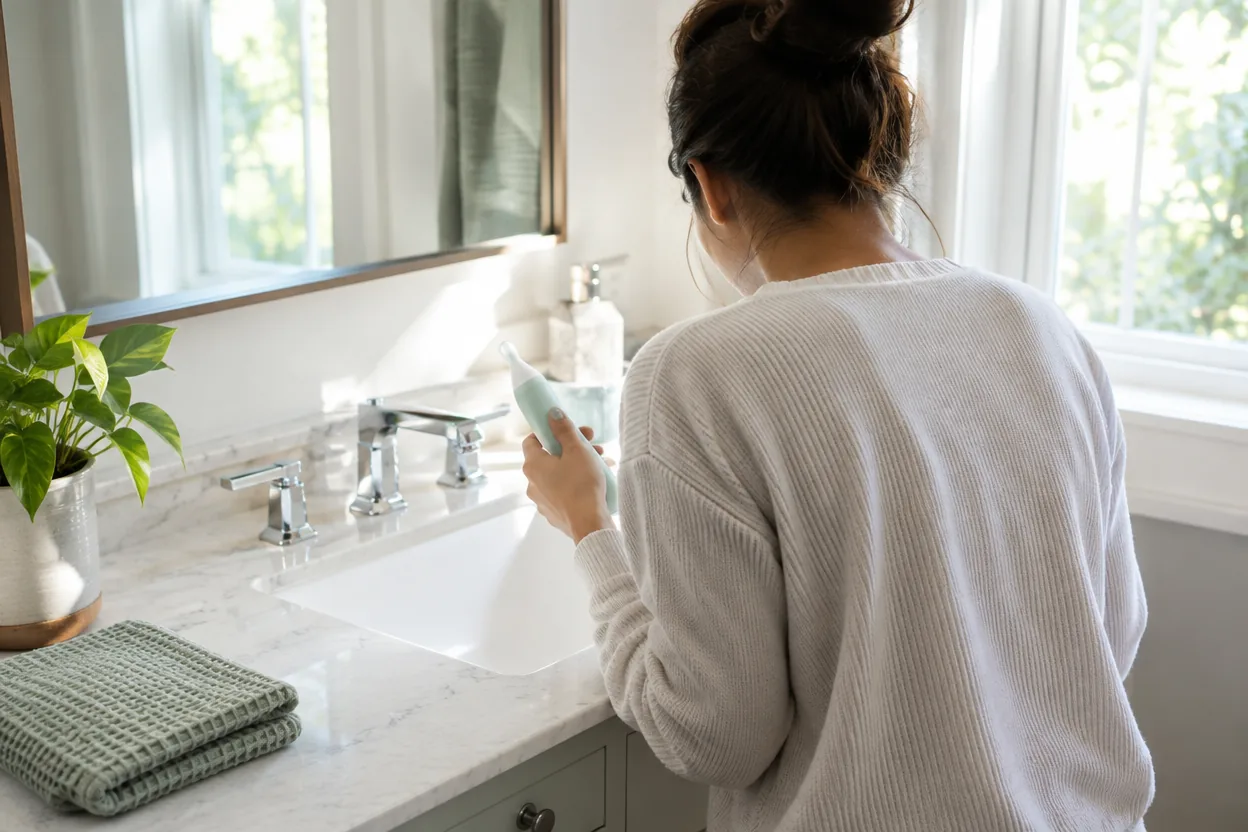
A water flosser sends a pulsating stream of water through a nozzle tip. You guide that stream along the gumline and between teeth, so food particles can rinse out of the gaps. It is a rinse, not a scrub, so it sits next to brushing in your daily routine.
Some people use one because string floss is awkward for them. Others use one around braces, bridges or other dental hardware. Your dentist can tell you whether it suits your mouth and how it fits with floss.
Set up before you start
A short setup keeps the routine consistent, and it makes how to use a water flosser a repeatable habit rather than a guess each time.
Choose countertop or cordless
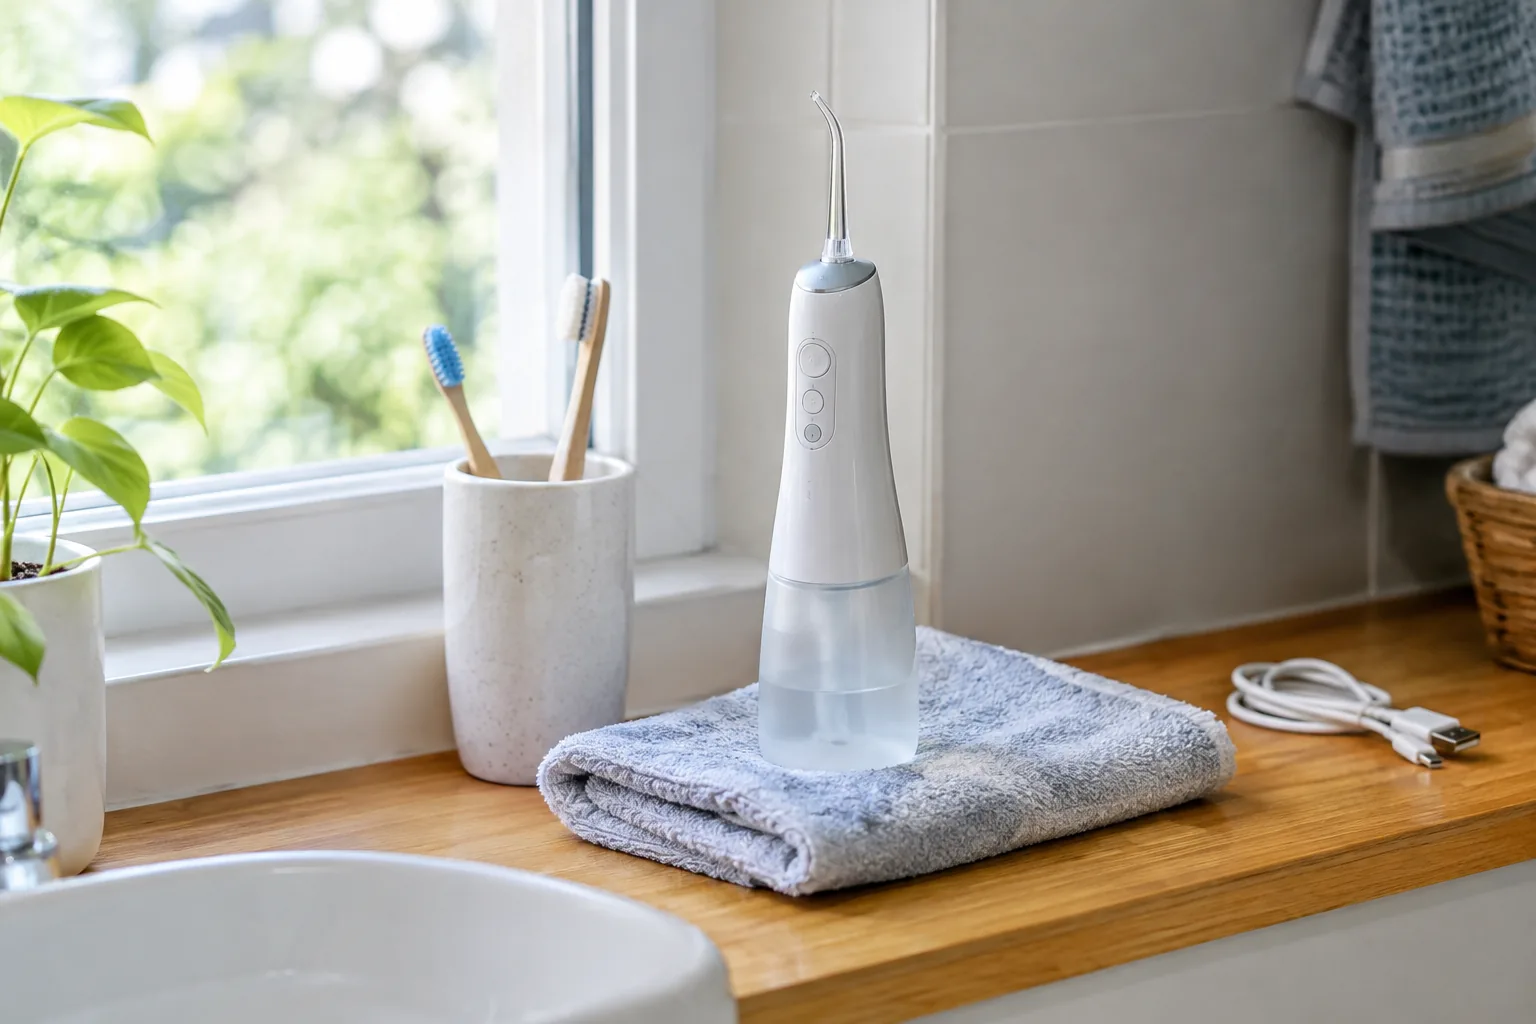
Countertop models plug in and sit by the sink. A cordless water flosser runs from a rechargeable battery and can be stored in a drawer or packed for travel. Pick the style that fits your bathroom space and how you plan to use it. You can browse the Dental & Oral Care Devices collection to compare models.
Choose the right tip
Standard tips suit everyday use. An orthodontic tip is made for brackets and wires. Color-coded tips let each person in a household click their own tip onto the same device.
Check the tank and the water
Fill only to the tank's maximum line. Use lukewarm tap water unless your manual says otherwise, since it is a comfortable place to start. Some manuals allow mouthwash in the tank and others do not, so read yours before adding anything.
Pressure settings: where to start and when to change
Begin on the lowest pressure setting for the first several sessions. Raise the level one step at a time only if the feel stays comfortable. If anything feels sharp or uncomfortable, go back down.
| Setting | What it is | How to use it |
|---|---|---|
| Soft or gentle | The lightest flow | First sessions, sensitive areas, getting used to the tip |
| Normal | The middle level | Everyday use once Soft feels familiar |
| Strong | The highest flow | Step up only if Normal feels too light for you |
| Pulse | Water delivered in a rhythm | Slow passes along the gumline and between teeth |
If anything feels uncomfortable after several days of regular use, stay on the lightest setting and ask your dentist.
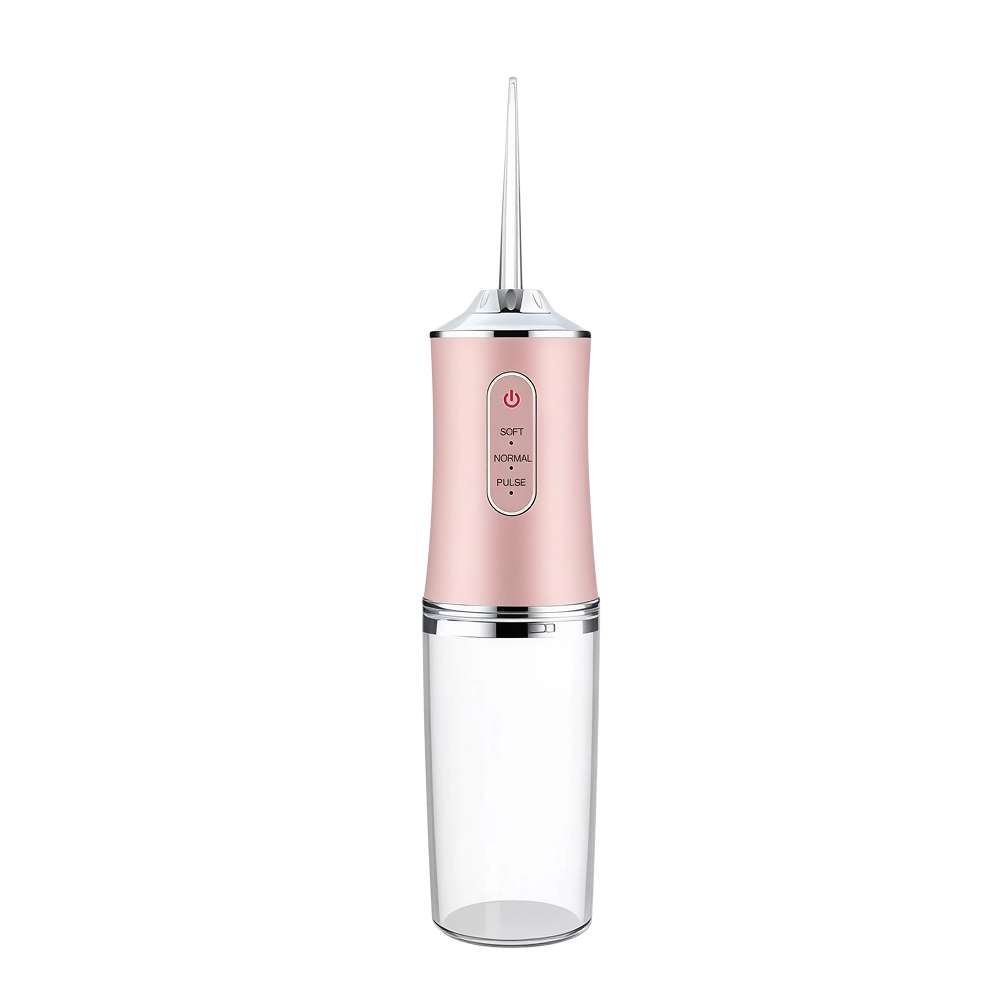
The HydroFlare is one example of how these modes are laid out. It has a 200ml tank and four pressure modes: Soft, Normal, Strong and Pulse. It charges over USB with an indicator light, and the box includes four replacement nozzle tips.
 In this guideHydroFlare$59.99View
Tip angle and path: front, back and braces
Keep the tip close to the gumline, aimed at a right angle, and move slowly. Angle and pace shape the routine as much as the setting does.
Front teeth
Start at the back of one side and trace the gumline toward the front. Pause briefly where two teeth meet, then glide to the next gap. Do the outer surfaces first, then the inner ones.
Back teeth
Open slightly and angle the handle from the opposite corner of your mouth so the tip reaches the last molars. Keep your lips loosely closed to hold the spray in.
Around braces and hardware
Use an orthodontic tip if your device includes one. Guide the stream around each bracket and under the wire, pausing at each spot and moving slowly.
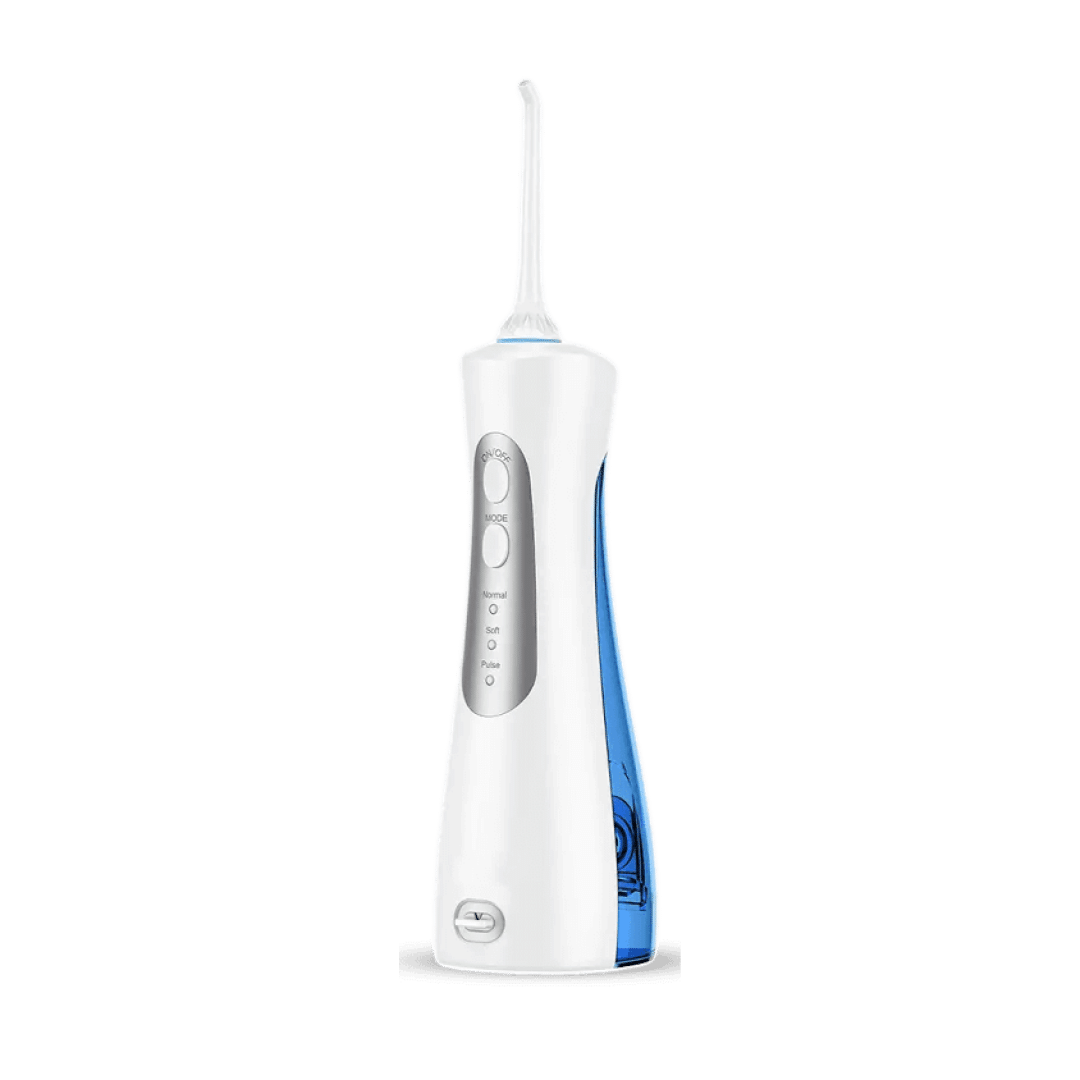
The HydroPulse is a cordless electric water flosser with settings from gentle to pulse and an extra-large water tank. Its tip can be guided around brackets, wires and other dental hardware, and it charges with the included USB cable.
 In this guideHydroPulse$108.99View
Field note
Work in the same order every session, for example upper outer, upper inner, lower outer, lower inner. A fixed path helps you track which teeth you have covered.
Floss vs water flosser: how they compare
String floss and a water flosser reach the same spaces in different ways. String floss is a physical strand you slide against each tooth surface. A water flosser uses a pulsating stream to rinse the gumline and the gaps between teeth. The table lays out how they differ in use.
| Factor | String floss | Water flosser |
|---|---|---|
| How it works | A strand wiped against tooth sides | A stream aimed at the gumline and between teeth |
| Equipment | Floss or picks | Device, tank, tips, charger or outlet |
| Technique | Hand control and a C-shape around each tooth | Tip angle and slow movement |
| Braces and hardware | Needs a threader or special floss | Tip is guided around brackets and wires |
| Setup and cleanup | Discard after use | Fill, drain and dry the device |
| Travel | Fits in a pocket | Needs charging, space and water |
So, does a water flosser work? It is designed to rinse the areas between teeth and along the gumline, and it sits alongside brushing. For a plain overview of where it fits, see health.unl.edu. Your dentist can tell you whether to add it to string floss or use it in place of floss for your teeth.
How often and how long to use it
Some routines use a water flosser once a day, often in the evening along with brushing. Your dentist may suggest a different schedule.
For length, go by coverage rather than the clock. A session ends when you have traced the gumline on every tooth, outer and inner, or when the tank is empty. The HydroPulse has an extra-large tank that holds water for your session.
You can use it before or after brushing. Choose the order you will keep, and ask your dentist if you want a specific one.
How to clean a water flosser
Cleaning is part of the routine. Switch off and unplug the unit, and follow your manual before you take anything apart.
| When | What to do |
|---|---|
| After every session | Drain the tank, wipe the outside dry, and set the unit back on its charger or stand |
| Every few days | Rinse the tank with clean water and let it air-dry with the lid open |
| Weekly | Remove the tip, rinse it, and wash the tank with mild soap if your manual allows |
| When a tip looks worn | Click on a replacement tip |
Leave the tank open between uses so it can dry. Check your manual for any descaling steps if you notice mineral buildup.
Water flosser tips and common mistakes
- Starting on a high setting. Begin low and work upward if you want to.
- Leaning back. Lean over the sink, or water collects in your mouth.
- Holding the tip far from the gumline. Keep it close and at a right angle.
- Rushing past the back molars. Give them the same slow passes as the front teeth.
- Sharing a tip. Each person should have their own tip.
- Leaving water in the tank. Drain it after each session.
Knowing how to use a water flosser also means knowing its limits: it does not replace brushing, so keep your toothbrush in the routine.
Frequently asked questions
Keep reading
 Fitness & Vital Sign TrackersHow Do Body Composition Scales Work? Bioimpedance Explained8 min read
 Fitness & Vital Sign TrackersHow to Choose a Good Fitness Tracker: Features, Fit and Budget9 min read
 Fitness & Vital Sign TrackersFitness Tracker Heart Rate: How Wrist Sensors Measure and Where They Slip8 min read