
How to Clean Makeup Brushes With Brush Cleaner, Step by Step
Wet the bristles, work in a little brush cleaner, rinse until clear and dry flat. Here is the full routine, including a homemade mix, spin-cleaning, drying and storage.
The Calvedon Team
November 1, 2026 · 6 min read
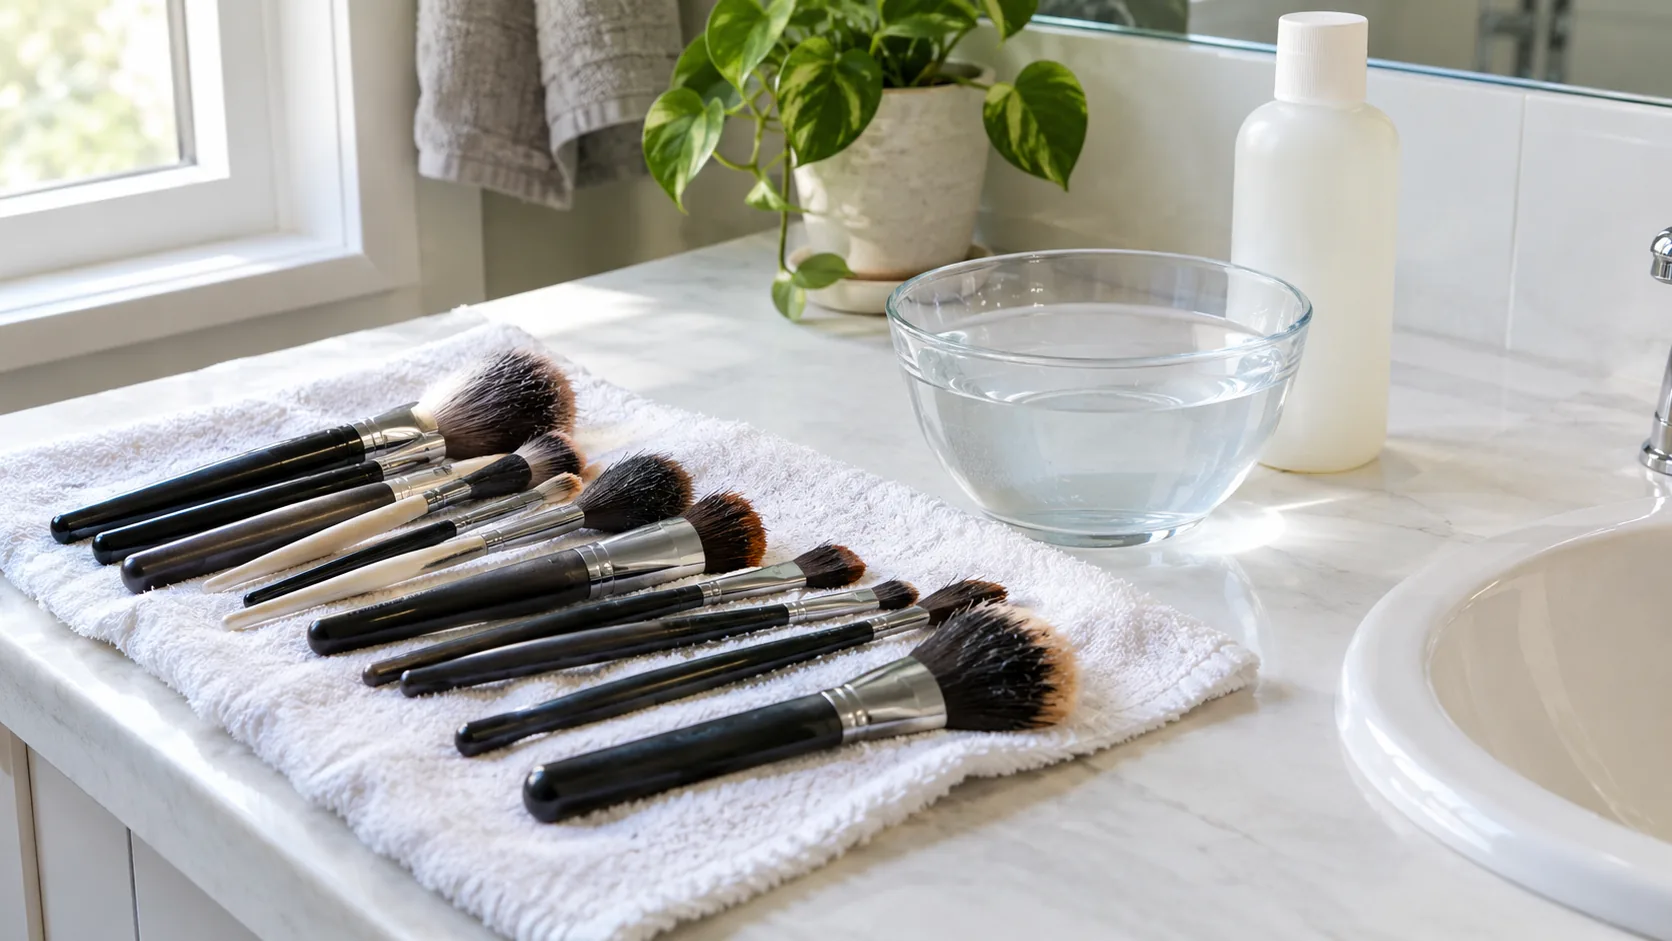
To learn how to clean makeup brushes with brush cleaner, wet only the bristles, work in a small amount of cleaner, rinse until the water runs clear, then dry the brushes flat. A liquid brush cleaner, a drop of gentle soap or a simple homemade mix all follow the same routine. This guide covers the solution choice, the washing steps, spin-cleaning, drying position and storage.
What to use for makeup brush cleaner
You have three practical options: a store-bought liquid cleaner, mild soap and water, or a homemade solution. Each one works on the same principle. A cleanser loosens pigment, oil and product buildup, and clean water carries it away.
Pick the option based on what the brush has picked up. Powder brushes need only a light wash, while foundation and concealer brushes hold creams and oils that call for a cleanser with oil-cutting action.
| Option | Suited to | Notes |
|---|---|---|
| Liquid brush cleaner | Cream, liquid and long-wear formulas | Follow the label for dilution and rinsing |
| Gentle liquid soap or dish soap | Weekly washes of face brushes | Use a small drop; rinse fully |
| Homemade soap-and-oil mix | Heavy foundation brushes | Mix fresh and rinse thoroughly |
| Isopropyl alcohol spritz | A surface refresh between washes | Not a replacement for washing; let it dry fully |
Can you use dish soap?
Yes, a small amount of gentle dish soap works as a cleanser for many brushes. Use one drop, not a squirt, and rinse until no suds remain. Strong or heavily scented formulas can leave residue, so check the label.
What to use instead of white spirit
White spirit is a paint-brush solvent and does not belong near makeup brushes. For makeup tools, use a dedicated brush cleaner, mild soap or the homemade mix below.
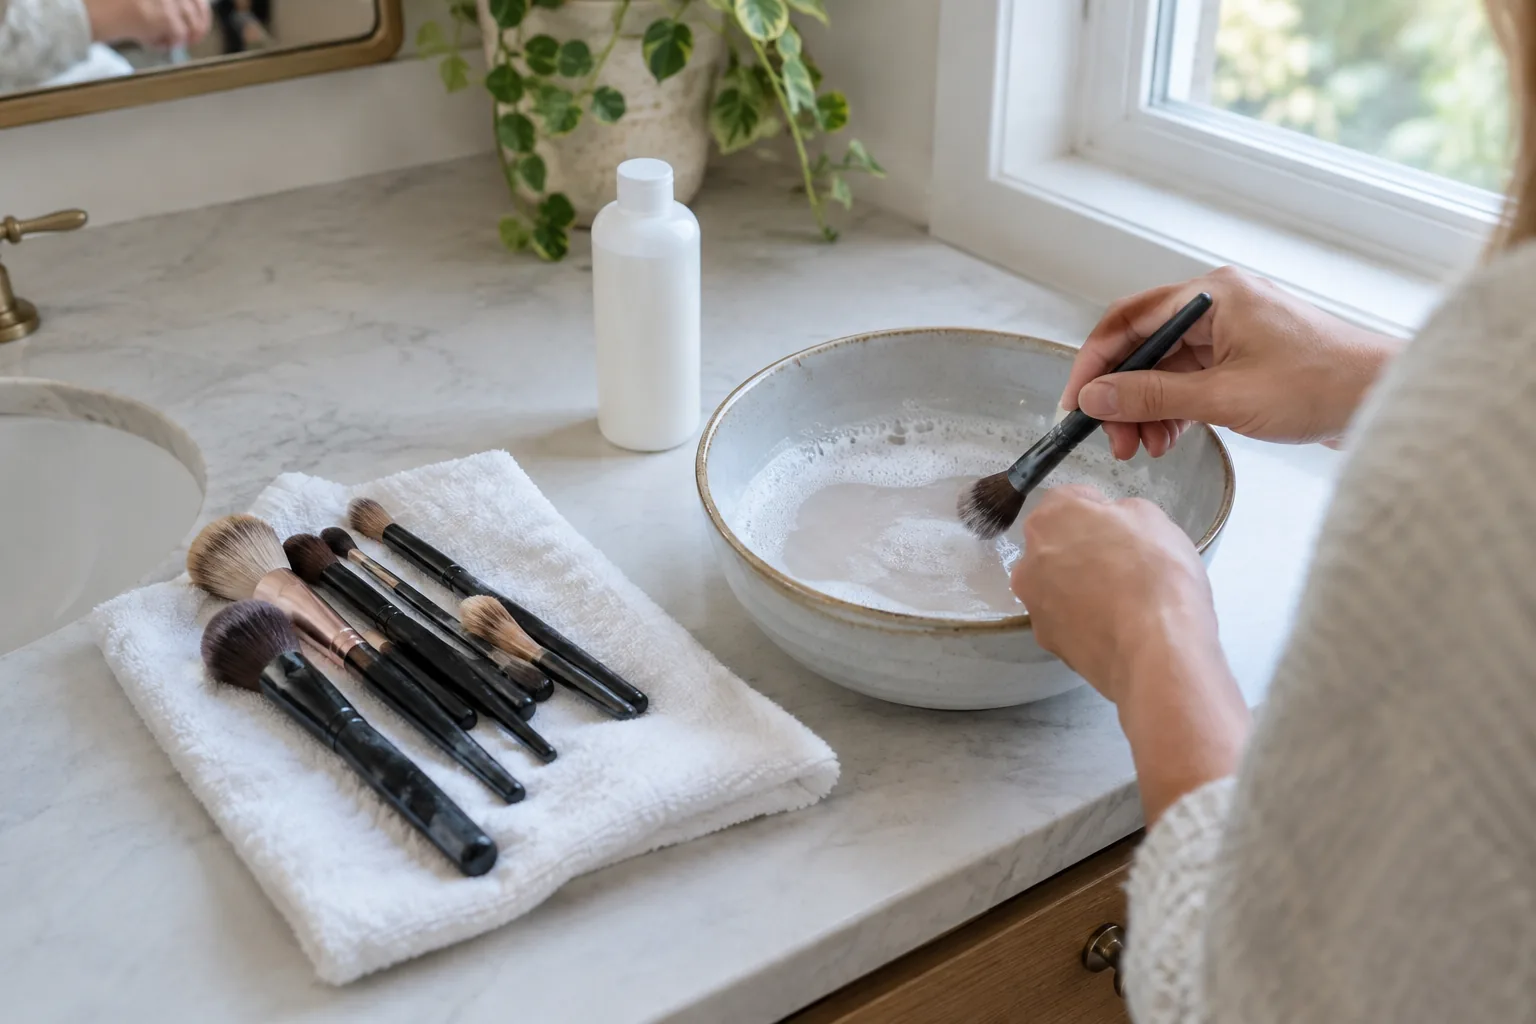
How to clean makeup brushes with brush cleaner, step by step
- Sort the brushes. Start with the lightest tools (eye and powder brushes) and finish with foundation and concealer brushes.
- Wet the bristles under lukewarm running water. Point the bristles down so water does not run into the ferrule, the metal band that holds the bristles to the handle.
- Add a small amount of brush cleaner to your palm or a cleaning mat. Swirl the brush in it in small circles.
- Work the cleanser through the bristles from the tip to the base. Reshape the head with your fingers as you go.
- Rinse under running water, squeezing gently from the base toward the tip. Repeat the wash until the water runs clear.
- Press the head in a clean towel to remove extra water, then reshape the bristles.
Do not soak the whole brush. Water that sits in the ferrule can loosen the glue that holds the bristles, so keep the handle out of the bowl.
Wash sponges the same way, squeezing the cleaner through until the water is clear. Apply the cleaner to dry sponges only if the label says to.
Field note
Hold the brush with the bristles pointing down at every stage, wash and rinse, so water stays out of the ferrule.
How to make a makeup brush cleaner at home
A DIY makeup brush cleaner solution needs only two or three ingredients. Mix it fresh for each wash so you are not storing a damp solution.
Basic soap mix
- 1 cup of warm water in a small bowl or cup
- 1 teaspoon of gentle liquid soap or dish soap
Stir gently, swirl the bristles in it, then rinse under running water. This is a good starting point for powder, blush and eyeshadow brushes.
Soap-and-oil mix for heavy products
For foundation brushes that hold long-wear formulas, add a few drops of a plain oil, such as olive oil, to the soap mix. The oil helps loosen stubborn pigment, and the soap lifts the oil away in the rinse. Rinse extra carefully, since leftover oil can transfer to your next application.
Spray and essential oils
For a DIY cleaner spray, fill a small spray bottle with isopropyl alcohol from the drugstore. Spritz the bristles, wipe on a clean towel and let the brush dry fully. Use it as a surface refresh between washes, not a replacement for a full wash.
Alcohol needs care. Follow the warnings on its label, use it in a ventilated room, keep it away from heat and open flame, and store it out of reach of children. Check the brush care label first, especially for natural-hair brushes, since some makers advise against alcohol. Essential oils are not part of these mixes.
What removes bacteria from brushes?
No single ingredient does it alone. Regular washing with a cleanser and thorough rinsing removes the oil, product and debris that bacteria can cling to. Complete drying matters too, so do not put away brushes that are still damp.
 In this guideBristleRenew$69.99View
Spin-cleaning: when a device fits your routine
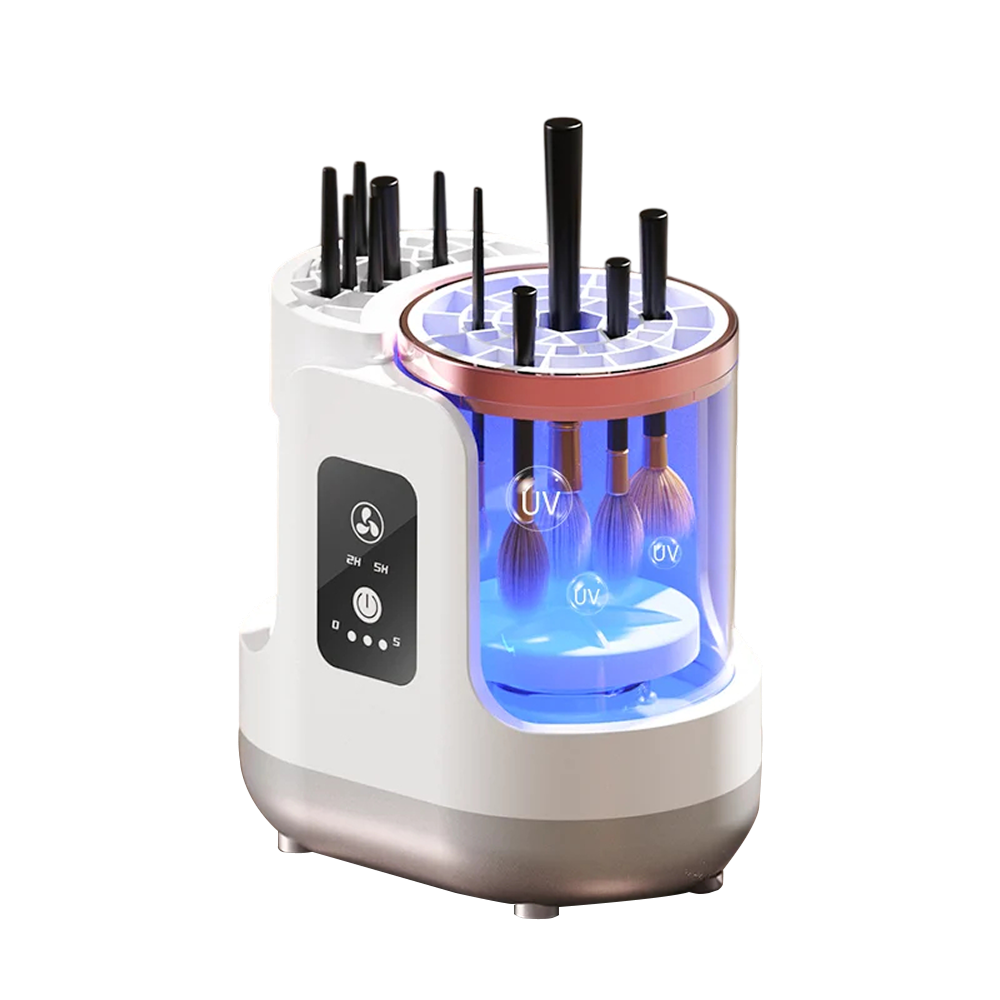
Swirling brushes by hand works, but a spinning cleaner takes over the motion. BristleRenew is a makeup brush cleaner with a spinning holder and a built-in fan. You place a brush or sponge in the flexible holder, pick a cleaning mode and start the cycle. A micro motor does the rotation while you watch through the transparent body.
It has two modes. Hands-free mode is meant for full brush sets, while handheld mode is meant for foundation brushes. The built-in fan can be switched on to dry your tools before the next use, and the device charges through a Type-C port with the included USB cable.
Follow the instructions that come with the device. The slim body fits into a bag if you want to bring your routine on trips.
Drying position for makeup brushes
Drying matters as much as washing when you clean makeup brushes with brush cleaner. Brushes that dry standing upright let water run into the ferrule, and the glue can weaken over time.
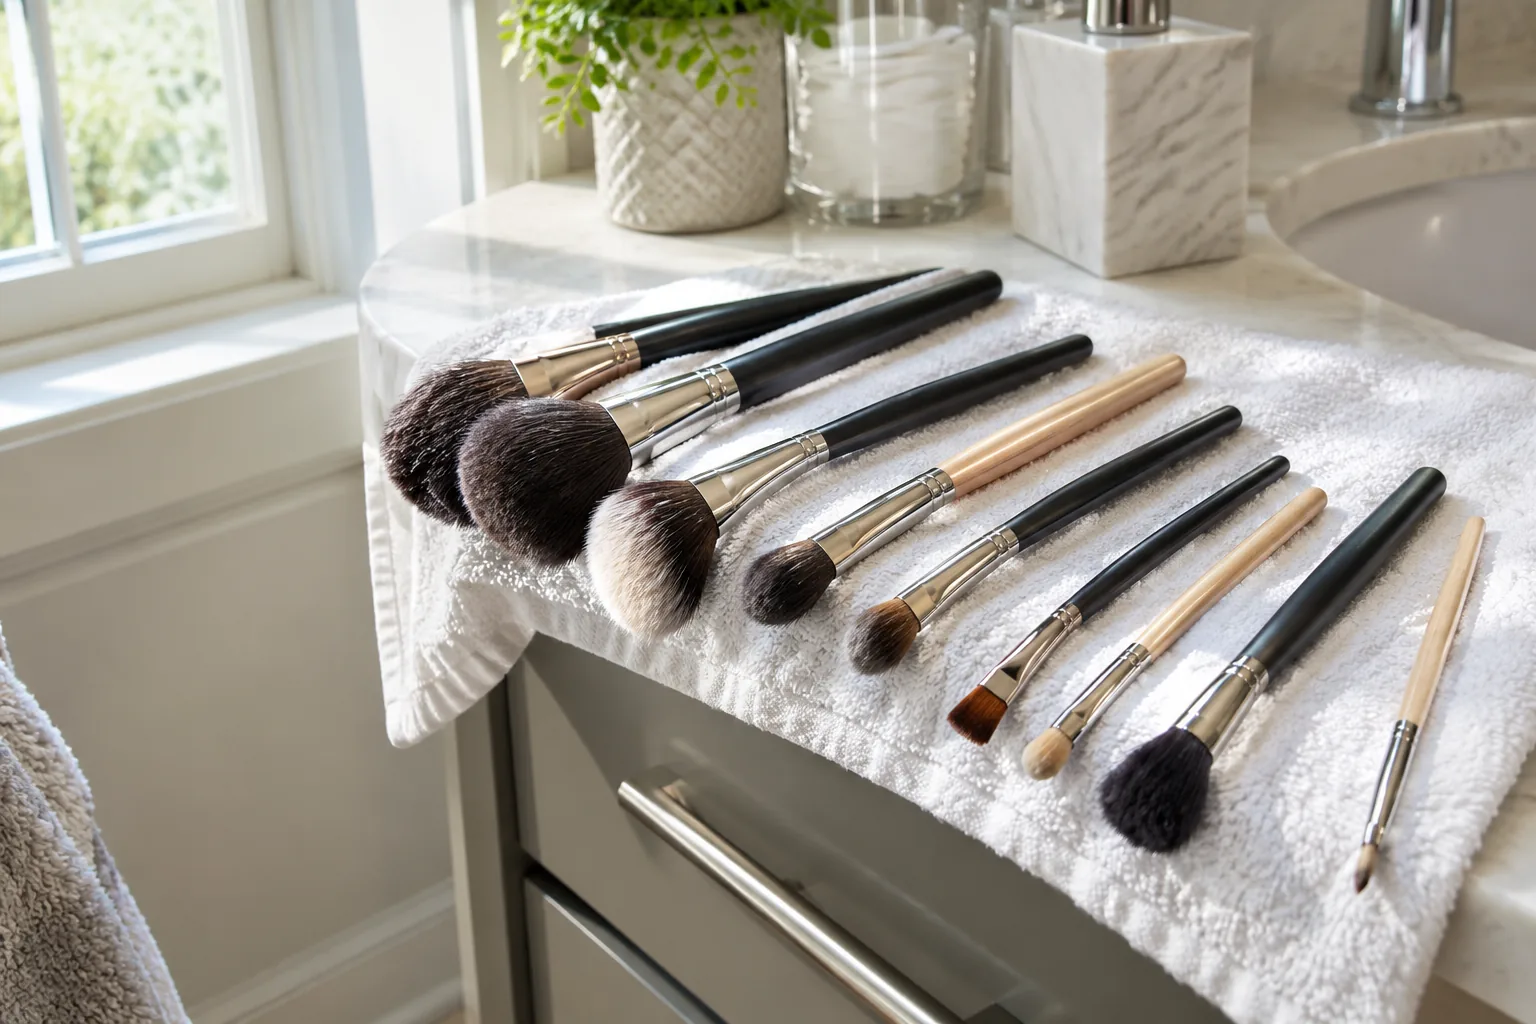
- Lay brushes flat on a clean towel with the bristles hanging past the edge of the counter.
- Or use a brush drying rack that holds them bristles-down at an angle.
- Reshape each head before leaving it to dry.
- Let them dry overnight, or until the base of the bristles feels completely dry.
- Keep them out of direct heat, which can dry out natural hair and soften glue.
Cleaning schedule and storage
How often you wash depends on what the brush touches. Use this table as a starting point for how to clean your makeup brushes with brush cleaner, and adjust to how you use each tool.
| Tool | Suggested wash | Between washes |
|---|---|---|
| Foundation and concealer brushes | Weekly | Wipe on a clean towel |
| Sponges | After each use | Let dry fully |
| Powder and blush brushes | Every two weeks | Tap off excess |
| Eyeshadow brushes | Every two weeks | Wipe on a clean towel |
Store fully dry brushes upright in a cup or in a pouch with the bristles up, away from the sink splash zone. Do not seal damp brushes in a bag or case. If you travel, give them time to dry before packing.
Hair tools need their own routine. Our guide on how to clean hair brushes covers heated and thermal types, and how to contour your face shows how clean brushes fit into a full application routine. For more tools, browse the beauty extras collection.
Common mistakes to avoid
- Using too much cleaner, which leaves residue in the bristles.
- Soaking the handle and ferrule.
- Rinsing with hot water, which can loosen glue.
- Drying brushes upright with the bristles up.
- Skipping the sponge, which holds product too.
- Storing brushes before they are fully dry.
Follow the care label on any brush with a special handle or a natural hair head, since some makers give their own instructions.
Frequently asked questions
Keep reading
 Body Contouring, Foot Care & Beauty ExtrasHow to Contour Your Face: A Step-by-Step Routine in Good Light7 min read
 Body Contouring, Foot Care & Beauty ExtrasFoot Spa at Home: A Step-by-Step Setup and Soak Routine7 min read
 Compression & SupportLeg Sleeve Compression: Sleeves vs Stockings, Sizing and Daily Wear6 min read