How to Contour Your Face: A Step-by-Step Routine in Good Light
Prep skin, place contour in the hollows and along the jawline, blend until no edge shows, then highlight. This guide maps placement by face shape and sets up the light.
The Calvedon Team
October 27, 2026 · 7 min read

To learn how to contour your face, apply a shade slightly deeper than your skin tone in the hollows of your cheeks, along the jawline and at the temples, blend until no edge remains, then add highlighter to the high points. Work in even light, start with a small amount and build slowly.
The steps below cover prep, product choice, placement by face shape, nose and double-chin tips, and a lighting setup that helps you judge the blend.
What contouring does and what you need
Contouring uses a shade deeper than your skin to suggest shadow, and a lighter shade to bring forward the areas that catch light. Blended well, the two give a sculpted finish without visible stripes.
Gather these before you start:
- Primer and foundation that match your skin tone
- A cream contour, liquid contour or powder contour one to two shades deeper than your skin, with a neutral or cool undertone
- A highlighter slightly lighter than your foundation
- A small dense brush or sponge for cream, and an angled brush for powder
- A fluffy brush or damp sponge for blending
- Setting powder or setting spray to finish
Contour versus bronzer
Bronzer is warm and meant to add color where the sun would hit. Contour is a neutral or slightly cool shade meant to mimic shadow. If your product looks orange in the cheekbone hollow, it is acting as bronzer and may not read as shadow.
Cream, liquid or powder
Cream and liquid formulas sit on top of foundation and melt into it. Powder goes over set foundation and suits oilier skin or a softer look. A contour stick is a cream format that lets you draw the placement directly, which is useful when you are starting out.
The 5 steps of makeup, in order
If you want the full sequence, here is the order to follow so contour does not lift or patch.
- Prep skin: cleanse, moisturize, then apply primer where you want foundation to stay put.
- Foundation and concealer: even out the base first.
- Cream or liquid contour and highlight: place and blend while the base is still fresh.
- Powder: set the T-zone and any cream product. If you use powder contour, apply it now.
- Finish: add blush, then mist with setting spray.
This also answers whether to contour before or after foundation: apply cream contour after foundation, and powder contour after setting.
Set up the light before you pick up a brush
Contour mistakes often come from lighting that hides edges. Dim or overhead-only light casts its own shadows on your face, so you either overdo the product or miss a harsh line until you step outside.
| Lighting checkpoint | What to do |
|---|---|
| Light direction | Face the light source, with light coming from the front or both sides, not from above |
| Color temperature | Use neutral light for the main blend, then glance under the light you will wear the makeup in (warm indoors, cool daylight) |
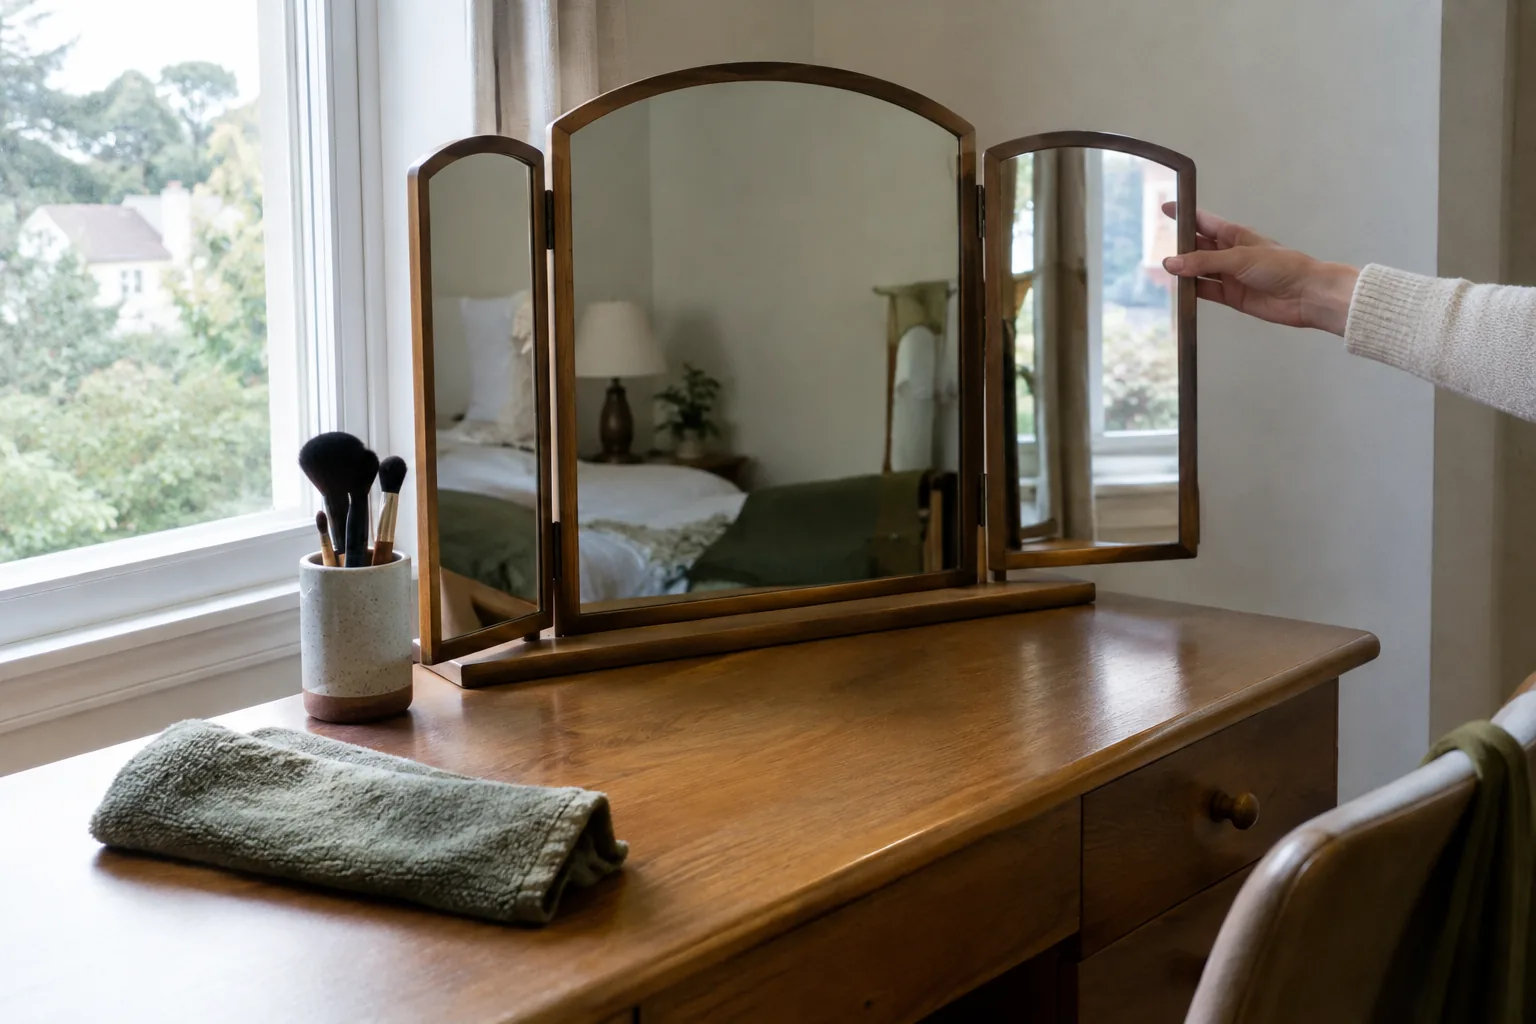
| Mirror angle | Set the mirror at eye level and tilt it so your forehead and chin are lit evenly |
| Magnification | Use a higher magnification level for edges near the nose and eyes, and the lowest level to check your whole face |
| Final check | Step back, look straight on and from each side, and blend again if you can see an edge |
A mirror with adjustable light makes this routine repeatable. The LumieFold has 83 LEDs, three color temperature settings (cool, neutral and warm) and three magnification levels. It tilts through 180°, so you can set the angle you want.
 In this guideLumieFold$119.99View
How to contour your face step by step
These steps work for cream and liquid products. For powder, swap in the angled brush and use lighter pressure.
Step 1: Prep and base
Moisturize, apply primer, then foundation and concealer. Let the base settle for a minute so it does not move when you press on contour.
Step 2: Find your hollows
Press your fingertip under your cheekbone and angle toward your ear. The hollow you feel is where the contour line starts. Mark it with a few dots or a short line from the ear toward the middle of the cheek, stopping before you reach the outer edge of your eye.
Step 3: Place the jaw, forehead and temples
Draw a thin line along the jawline from the ear toward the chin. Add a light sweep at the hairline and temples. Keep placement slim, because you can add more after blending.
Step 4: Blend in layers
Use a damp sponge or fluffy brush and blend with small upward motions. Blend the lower edge down toward the neck and the upper edge toward the ear so no line remains. Wait a moment, check the mirror, and add more only where needed.
Step 5: Highlight and set
Apply highlighter to the tops of the cheekbones, center of the forehead, bridge of the nose and the cupid bow. Set with powder where needed, add blush, and finish with setting spray.
Placement map by face shape
Use this map to adjust where the contour sits. Face shapes overlap, so treat it as a starting point and refine it in good light.
| Face shape | Contour placement | Highlight placement |
|---|---|---|
| Round face | Hollows from ear toward mouth corner, along the sides of the jaw, and at the temples | Center of forehead, cheekbone tops, center of chin |
| Square face | Soften the corners of the forehead and jaw with a rounded sweep, plus the cheek hollows | Center of forehead and chin, and high on the cheekbones |
| Oval face | Light line under the cheekbones and a touch at the temples | Cheekbone tops and bridge of the nose |
| Heart-shaped face | Sides of the forehead and temples, and a light touch under the cheekbones | Center of forehead and the area under the eyes |
| Long face | Hairline, under the chin, and a horizontal sweep across the cheek hollows | Cheekbone tops and the center of the cheeks |
Contouring a round face
Angle the cheek contour more upward than straight, and keep the jaw line thin and diffused. Heavy product low on the cheek can flatten the face instead of defining it.
Nose and double chin
How to contour a nose
Use a small brush and a light touch. Draw two thin lines down the sides of the bridge, starting near the inner brow and ending where the nose widens. Blend outward, then place a thin line of highlighter between them. Leave a gap between the lines and the inner corners of the eyes.
How to contour a double chin for beginners
Apply a contour shade in the shadow under the chin, along the underside of the jaw, and blend it down toward the neck. Highlight the center of the chin, and bring foundation down the neck so the color matches. Check this step from the side, since the angle shows where the edge sits.
Contouring on mature skin
If your skin has texture or fine lines, cream and liquid formulas are a good fit; heavy powder can settle into lines. Apply a small amount, blend with a damp sponge and set only where needed. Keep the contour higher and softer, and use a creamy highlighter on the cheekbones instead of glitter.
Field note
Do your final blend in the light you will wear the makeup in. If you apply in warm indoor light, step to a window before you leave and check the jawline.

Common contour mistakes to avoid
- Using a shade that is too warm or too dark, which reads as a stripe
- Placing contour too low on the cheek, which can drag the face downward
- Starting with too much product, so blending turns muddy
- Skipping the neck, which leaves a visible edge below the jaw
- Blending only in a dim room, then finding the edges in daylight
- Applying powder contour over cream without setting the cream first
Care and routine tips
Wash your sponges and brushes on a regular schedule, and let them dry fully before use. Keep a small brush for the nose and a larger one for the cheeks so shades do not mix. For hair tools, How to Clean Hair Brushes, Including Heated and Thermal Brushes walks through a cleaning routine.
If you are traveling, the LumieFold's panels fold flat and the base detaches, so the lit mirror fits in a bag. For body-focused extras, browse the Body Contouring, Foot Care & Beauty Extras collection.